Custom Slides in Waterpark Simulator
Build loops, spirals, and splashdowns that thrill guests without wrecking park flow.
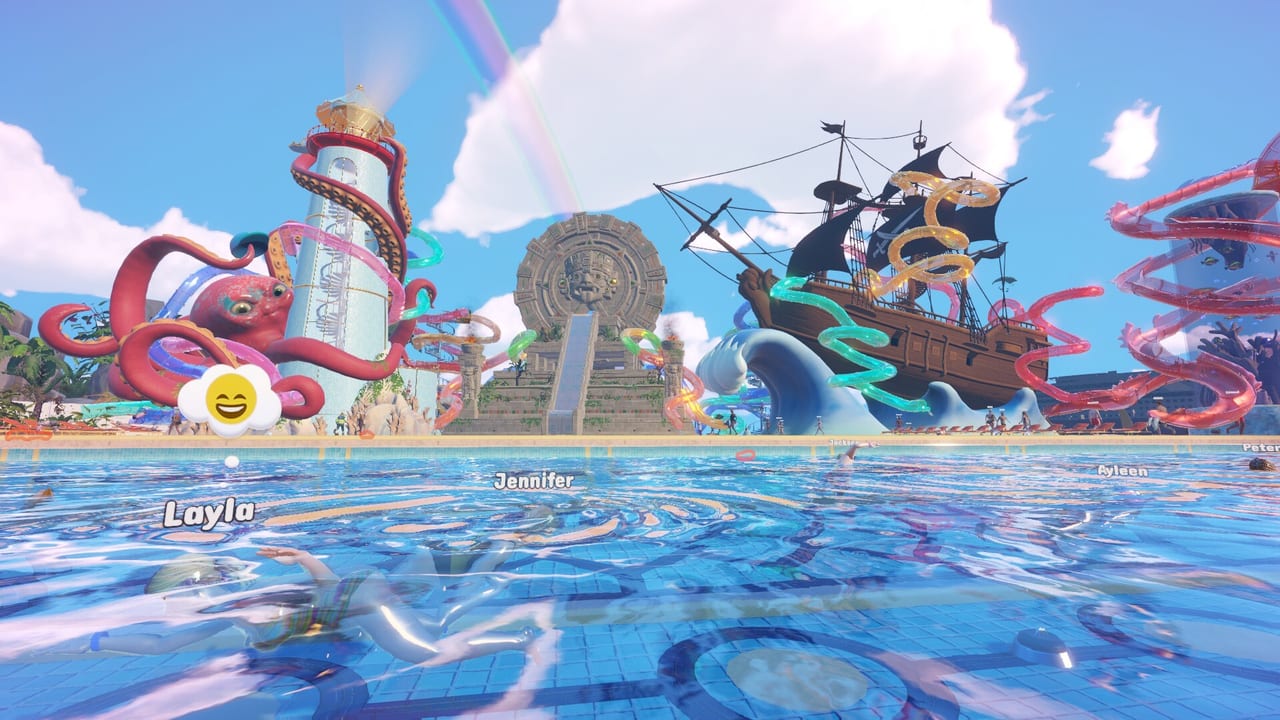
Custom slides are the headline feature of Waterpark Simulator 1.0. Instead of dropping only prefab tubes, you bend paths, stack loops, and invent spirals that send ragdoll guests flying into pools—or into comedy wipeouts if the exit is wrong. This guide focuses on practical design rules so your slides raise fun scores without choking queues, flooding decks, or fighting your Pool Layout plan.
How the custom slide builder thinks
Treat every slide as three systems: entry, ride, and exit. The entry needs a visible tower, clear stairs or lift access, and enough queue space that guests do not block walkways. The ride is where you spend creativity—curves for speed control, loops for spectacle, spirals for length. The exit is non-negotiable: splash into deep water with open swim-out lanes. If guests pile up under the landing, your fun gains vanish under drowning risk, dirty water, and angry reviews.
Physics will punish vanity builds. Tall drops look great in screenshots, but stacked loops without deceleration dump guests at lethal angles. Test each segment in first person before you paint the whole tower Ocean blue. In co-op, one player can ride-test while another adjusts segments—online sessions of two to four builders make iteration much faster than solo rebuilds.
Design patterns that work after 1.0
Family river run: gentle curves, medium height, wide exit pool. Perfect for early parks and Beach map tourist traffic. Pair with food stands nearby so families spend after the ride.
Loop showcase: one confident loop, then a long runout. Avoid triple loops until you understand speed. Place viewing rails for other guests; spectacle helps rating when people watch safely.
Pirate spiral tower: spiral descent into a themed cove. Keep the splashdown clear of ship props and photo spots. Theme consistency matters—cross-link décor ideas via Items and district planning on the Map page.
Aztec drop spine: steeper midsection with a dramatic reveal over temple props. Use night mode lighting on the tower so evening operations still look intentional, not dark and confusing.
Prestige diver feed: slides that end near landmark diving boards feed the kinds of builds covered in Prestige Builds. Do not aim the exit at the board itself.
Queue, repair, and staff reality
Slides break the fantasy when nobody maintains them. Broken segments and filthy landings tank scores even if the geometry is perfect. Hire cleaners and repair coverage using the Hiring Guide and prioritize roles with Role Priority. Security becomes more important when chaotic slide exits create fights or line-cutting near towers.
Upgrade timing also matters. A gorgeous custom slide on a park with weak cleaning boosts is a trap. Check Upgrades Priority before you sink every coin into a fifth tower. Compare thrill value against other attractions in the Attractions Tier List.
Beach map and night-mode tips
Beach map frontage gives longer runouts and wider tower footprints. Use the city backdrop as a skyline frame: tall slides near the back, open pools toward the sand so screenshots and guest sightlines stay clean. At night, light the entire climb path and exit pool; glowing water looks great, but unlit stairs create operational dead zones.
Paint and spray tools let you brand each slide. Keep color language consistent inside a theme district—Pirate reds and weathered wood on one tower, Ocean teals on another—rather than rainbow chaos that makes wayfinding harder. Flooring changes around the exit cue guests where to walk after they surface.
Testing checklist before you open the gate
- Ride the full path yourself after every major edit.
- Confirm splashdown depth and swim-out clearance.
- Watch ten guests for pileups, ragdoll traps, or fence snags.
- Place trash and cleaner routes near the exit, not through the queue.
- Add a lifeguard sightline to the landing pool.
- Retest after neighboring builds change elevation or props.
- In co-op, assign one player as QA rider for the session.
When the slide is stable, return to the Build Hub to plan the next district, or jump into Guides if operations are the bottleneck. Custom slides sell the dream of Waterpark Simulator; safe exits and staffed landings keep the diamond rating climb alive.
For controls while placing segments on PC, keep PC Controls open in another tab. For broader progression context after a big build night, skim Getting Started again so ticket, food, and cleanliness loops still match your new capacity.
Frequently Asked Questions
Quick answers to the most common questions.
Are custom slides required in Waterpark Simulator 1.0?
They are the signature build tool for unique parks. Prefab thrills help early, but custom paths are how you create standout fun for higher ratings.
Why do my guests keep getting stuck after slides?
Usually the exit pool is too small or blocked by props. Widen the splashdown, clear swim-out lanes, and retest after every prop pass.
Should I build loops or spirals first?
Start with gentle curves and one controlled feature. Add loops once you understand speed, then spirals for longer scenic rides.
Do themes change how slides should be built?
Themes mainly change dressing and district identity. Keep Ocean, Aztec, and Pirate towers consistent, but always prioritize safe physics and exits.
How does co-op help with slide building?
With 2–4 players, one person can ride-test while others edit segments, paint, or clear exit pools, cutting iteration time dramatically.
What should I read after finishing a slide tower?
Review Pool Layout for circulation, Prestige Builds for landmark pairing, and Staff hiring pages so landings stay clean and supervised.